Are you looking to learn how to sterilize tattoo equipment effectively? Within the realm of tattooing, upholding the utmost standards of cleanliness and hygiene stands as an absolute priority. Sterilizing tattoo equipment emerges not only as a legal obligation in numerous jurisdictions but also as a pivotal procedure in ensuring the safety of your clients.
In this comprehensive guide, I will share with you the step-by-step process of sterilizing and cleaning your tattoo gun and equipment to maintain a safe and sterile environment in your tattoo studio.
Preparation before a tattoo session

Before embarking on a tattoo session, meticulous preparation is key to ensuring a sterile environment and the safety of both the artist and the client. In this section, we’ll delve into the essential steps for preparing your workspace and equipment, setting the stage for a successful tattoo session.
- Start by spotless and disinfecting your workspace to remove any contaminants. This includes wiping down surfaces, workstations, and all tools you’ll be using during the tattooing process.
- Prioritize safety by donning clean gloves and appropriate protective clothing. This helps prevent any potential cross-contamination and maintains a hygienic environment throughout the session.
- Get your tattoo machine ready by ensuring that all components are correctly assembled and securely fastened. Test the machine to ensure it’s in perfect working order, as any malfunction could compromise the tattooing process. Wrap all equipment in sterile film to maintain its cleanliness until use.
- When opening sterile packages containing tattoo needles, tubes, and other equipment, do so with extreme caution to avoid contamination. Any breach in sterility can pose a serious risk to your client’s health.
- Lay out your ink caps and fill them with the required ink colors using a clean and sterile ink dispenser. Ensuring that your ink is free from contaminants is important to achieving vibrant and safe tattoos.
- Make sure that additional supplies such as extra gloves, bandages, and gauze are readily available and within arm’s reach. This preparation ensures a smooth workflow during the tattoo session and minimizes disruptions.
By diligently following these preparation steps, you not only maintain a sterile working environment but also demonstrate your commitment to the safety and well-being of your clients. Proper preparation sets the foundation for a successful tattoo session, allowing you to focus on your artistic skills and create stunning tattoos with confidence.
Sterilization after a tattoo session
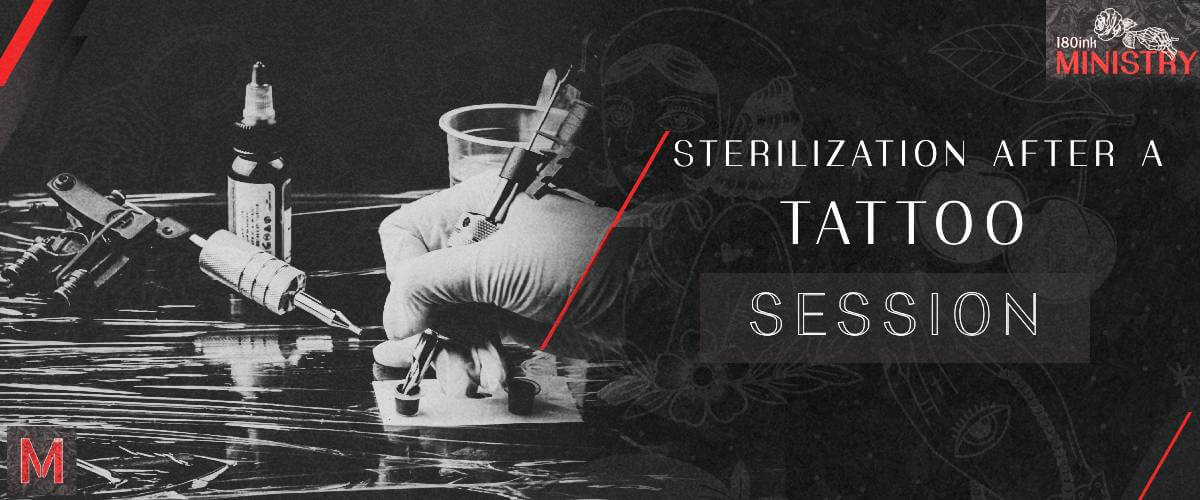
As I’ve said before, ensuring the safety and well-being of clients is a top priority in the tattoo industry. Tattoo artists invest time and effort in creating stunning pieces of body art, but just as critical is the meticulous care taken to maintain a sterile and infection-free environment. This is why it is so important that tattoo artists clean their equipment not only before the session starts but also at the end of the session. In this section, you will learn the essential sterilization steps after a tattoo session.
Dispose of used needles
After completing a tattoo session, it is important to handle used needles with care. Gently remove the used needles from the tattoo machine and place them into a designated sharps container designed for safe disposal. Properly disposing of used needles is essential to prevent accidental needle stick injuries and the spread of infections.
Remove and clean tubes and grips
Tattoo equipment includes two types of tubes: disposable and reusable (metal). Disposable tubes should be discarded into the trash as they cannot be sterilized for reuse. However, reusable tubes and grips can be prepared for further sterilization. Carefully detach the used tubes and grips from the tattoo machine. Thoroughly clean them using the tattoo machine sanitation supplies to remove ink, blood, and other residues. Ensure that all components are visually clean, with no visible ink residues.
Ultrasonic cleaning
To further ensure cleanliness, place the cleaned tubes and grips in an ultrasonic cleaner filled with an appropriate cleaning solution. Follow the manufacturer’s instructions to operate the ultrasonic cleaner, which uses high-frequency sound waves to remove any remaining contaminants effectively.
Drying and packaging for autoclaving
Once cleaned and free of contaminants, thoroughly dry the tubes and grips before packaging them for autoclaving. Use appropriate packaging materials designed for autoclaving to maintain sterility.
Autoclaving
Autoclaving for tattooing equipment is a critical step in sterilizing various tattoo accessories and devices. Place the packaged equipment into a tattoo sterilization machine and follow the manufacturer’s instructions for sterilizing the equipment. Autoclaves use high-temperature steam to kill any remaining microorganisms, ensuring the equipment is sterile.
Storage
After autoclaving, store the sterilized equipment in a clean, dry area until the next use. Ensure that the sterile packaging remains intact and undamaged to preserve the equipment’s sterility. Proper storage is vital to prevent contamination before using it on the next client.
Sterilizing and cleaning tattoo machines and equipment after each session is an essential practice in the tattoo industry to maintain a safe and infection-free environment for both tattoo artists and clients. By following these steps, you can ensure that your equipment remains in optimal condition and ready for the next tattoo session while prioritizing your own health and safety of your clients.

